Find the pure strike band
The official strategy guide places the pure band at roughly 82–87 on the meter. It sits below the top of the sweep. Overswinging beyond the band makes the shot less reliable, so aim for the band itself rather than the end of the bar.
Club choice sets the broad distance; meter timing refines the shot. Before taking a risky line, notice how consistently you are hitting the band with your current club.
Club distance reference
These are the published base distances. The final result changes with strike quality, wind, lie and the surface the ball reaches. The fairway totals are approximate, not a promise for the shot in front of you.
| Club | Carry | Base roll | Approx. fairway total |
|---|---|---|---|
| Driver | 278 yd | 26 yd | 316 yd |
| 3 Wood | 243 yd | 20 yd | 272 yd |
| 5 Wood | 221 yd | 16 yd | 244 yd |
| 4 Iron | 199 yd | 13 yd | 218 yd |
| 6 Iron | 179 yd | 10 yd | 194 yd |
| 8 Iron | 156 yd | 7 yd | 166 yd |
| Pitching wedge | 131 yd | 5 yd | 138 yd |
| Sand wedge | 97 yd | 3 yd | 101 yd |
| Lob wedge | 63 yd | 2 yd | 66 yd |
Longer clubs have wider spread and faster swing meters. Choose enough carry to clear a hazard while keeping the expected run inside your landing area.
Read the surface before the distance
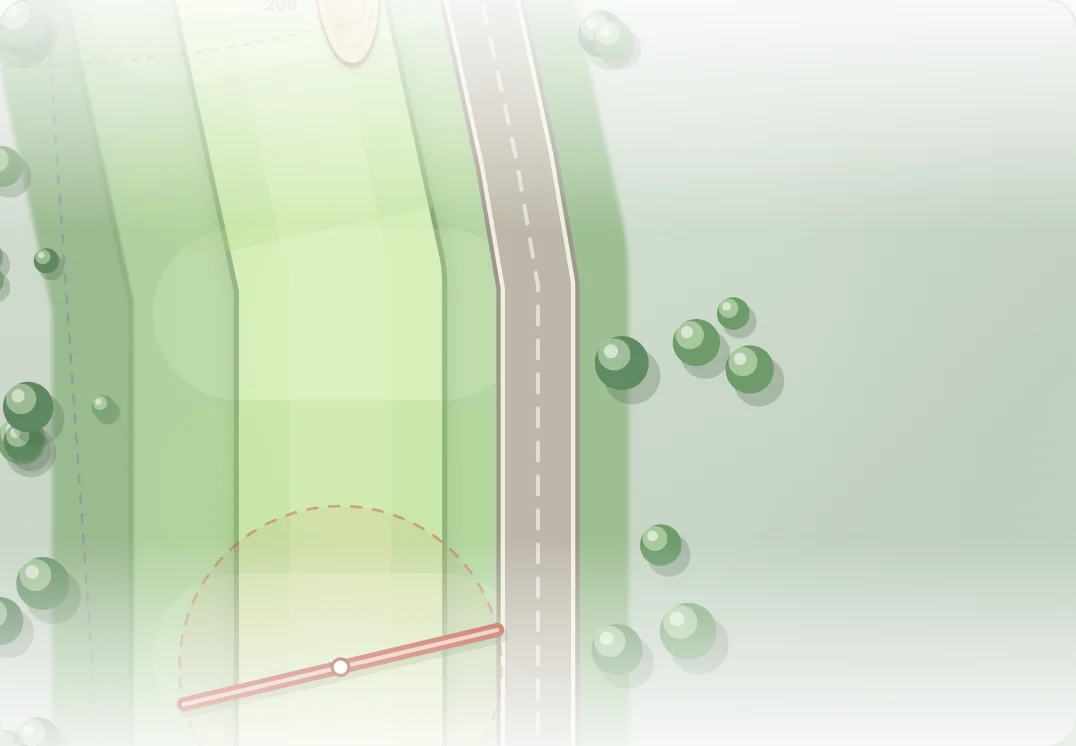
Rollout varies sharply across the course. Fairway allows useful run; rough and sand stop the ball much sooner. Bridges and paths can send it beyond a landing point that initially looked safe.
| Surface | Rollout multiplier |
|---|---|
| Bridge | 5.20× |
| Cart path | 3.00× |
| Green | 2.10× |
| Fairway | 1.45× |
| Tee | 1.25× |
| Rough | 0.30× |
| Portal green | 0.18× |
| Deep rough | 0.14× |
| Bunker | 0.07× |
| Water | 0.00× |
On an approach, allow for the green’s faster run. A landing near the front can release toward the scoring rings; landing at the flag can finish past it.
The next shot inherits the lie
Where you stop matters twice: it affects this shot’s rollout and the next shot’s carry and spread. Sand and deep rough are recovery positions, so reconsider the route before asking for a long carry.
| Lie | Carry | Spread | Remember |
|---|---|---|---|
| Fairway / tee | 100% | Normal | A clean starting position. |
| Bridge | 94% | 1.45× | Quick rollout, less reliable next shot. |
| Cart path | 92% | 1.55× | Useful run, harder recovery. |
| Rough | 84% | 1.75× | Shorter carry and wider misses. |
| Bunker | 70% | 1.90× | Carry is capped at 160 yards. |
| Deep rough | 62% | 2.45× | Prioritize a safe recovery. |
The bunker carry cap is 160 yards. A longer club cannot remove that limit. Plan a reachable escape with a good next lie instead of treating the bunker as another tee.
A four-question shot plan
- What must I carry? Locate the near and far edges of the hazard.
- Where should the ball stop? Work back from the next useful position.
- What will the ground do? Check run on fairway, path and green.
- Is the miss playable? Compare a lost few yards with a penalty and drop.
Use the hazard guide when a portal, arm or river changes your normal plan.